
As a lash artist, your studio is more than just a place where you create beauty—it’s a direct reflection of your brand and the experience you provide. Today, having an Instagram-worthy lash studio isn’t just a luxury; it’s an essential part of attracting new clients and growing your business. A beautifully designed, well-organized space can elevate your services and become a marketing tool in itself.
In this post, we’ll walk you through how to create a stunning lash studio setup that will not only impress your clients but also encourage them to share their experience on social media, ultimately helping you grow your lash business.
Why an Instagram-Worthy Lash Studio is Important
In today’s digital age, visual appeal plays a massive role in attracting new clients. Social media platforms like Instagram have become go-to spaces for clients to discover new businesses and services. If your lash studio looks great, clients will naturally want to snap a picture and share it with their followers. This free advertising is invaluable and can significantly impact your lash business branding.
A well-designed studio also creates a positive impression of your work and professionalism, boosting client trust and loyalty.
Step 1: Choose the Right Space
When setting up your lash studio, the first thing to consider is space. Whether you’re working from home or in a commercial location, your space should be both functional and visually appealing.
Things to consider:
- Natural Light: Natural light makes a huge difference when it comes to photos, so choose a space with large windows or plenty of light. It not only creates a welcoming atmosphere but also helps in the application of lashes.
- Lighting for the Procedure: Aside from ambient light, you’ll need focused task lighting to ensure precision during lash applications. Invest in a high-quality lamps and ring lights that provide adequate illumination for detailed work without being too harsh.
- Space for Equipment: A well-organized space with ample storage for your lash extension tools will keep the room clutter-free, ensuring your work area is always neat and efficient.
Step 2: Choose a Color Scheme That Pops
An Instagram-worthy lash studio is visually appealing, and color plays a crucial role in setting the mood. Think of your studio’s color palette as part of your overall lash business branding.
Tips for choosing your color scheme:
- Soft, Neutral Tones: Soft pinks, whites, and beige tones create a serene, calming atmosphere, which is perfect for a lash studio. These colors not only look elegant but are also versatile enough to complement other design elements.
- Accent Colors: Add pops of vibrant color with pillows, artwork, or small décor items. These touches can tie your overall look together and make your studio feel personalized.
- Brand Consistency: Consider using your business’s color scheme, so everything—from your website to your studio—is cohesive. This builds brand recognition and provides a seamless experience for clients from the moment they book their appointment to when they walk into your studio.
Step 3: Invest in Stylish Furniture & Equipment
Quality furniture and equipment will make your lash studio look professional while ensuring comfort for your clients. Think beyond functionality—stylish, comfortable furniture creates an environment where clients feel pampered.
Essential furniture for your lash studio:
- Lash Bed/Chair: A comfortable bed or recliner is crucial for long lash appointments. Opt for something that’s not only stylish but also ergonomic for your client’s comfort and your own ease during application.
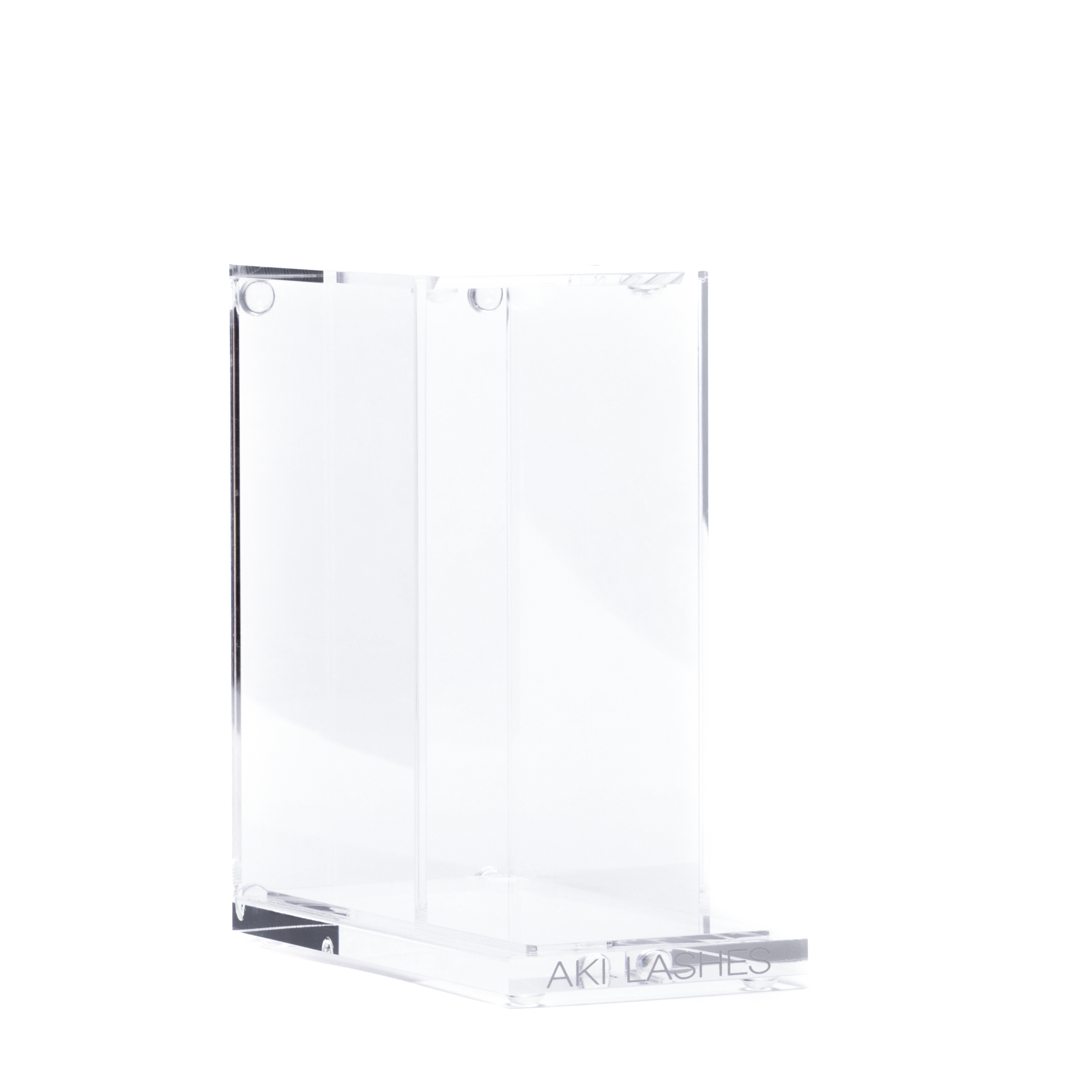
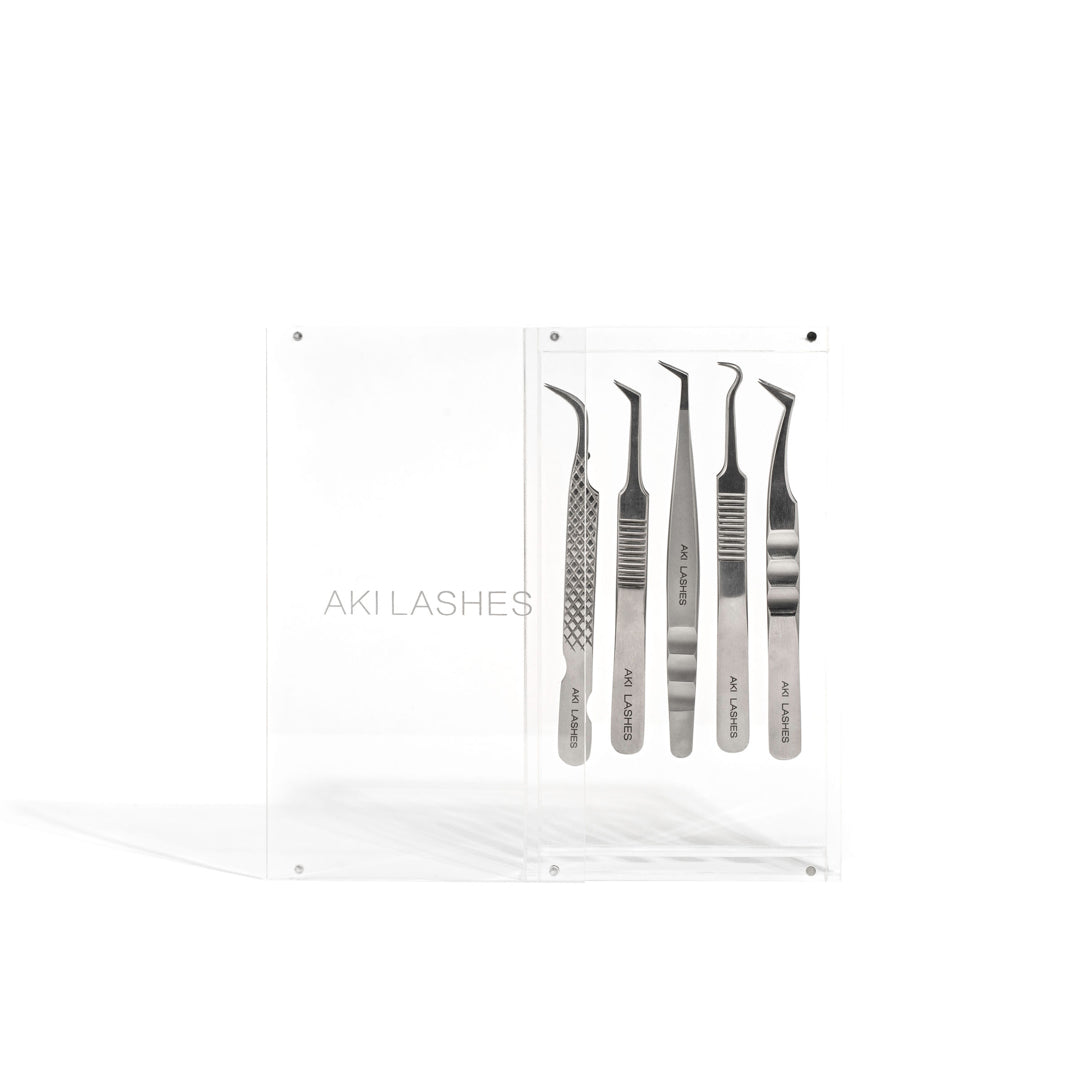
- Storage: Invest in stylish storage solutions, such as shelves or cabinets, where you can neatly organize your lash extension products like tweezers, adhesives, and trays. A clean and organized setup enhances both your studio’s appearance and your workflow.
- Stylish Décor: Incorporate minimalistic décor such as chic plants, artwork, or mirrors. These little additions can make a huge difference in the overall vibe of the space and are likely to be noticed in client photos.
Step 4: Focus on Cleanliness & Organization
An organized and clean space is not only important for your work but also for making a good impression on clients. It shows professionalism and care. Keeping your lash studio tidy is key to maintaining a great reputation and running a successful business.
Key cleaning and organizational tips:
- Daily Cleaning Routine: Ensure that surfaces, tools, and equipment are sanitized after each client. This will not only keep your studio hygienic but will also help in avoiding any lash glue or product buildup.
- Well-Organized Tools: Use sleek organizers for your lash tools and products. This will help your workflow and also make your space look clean and professional.
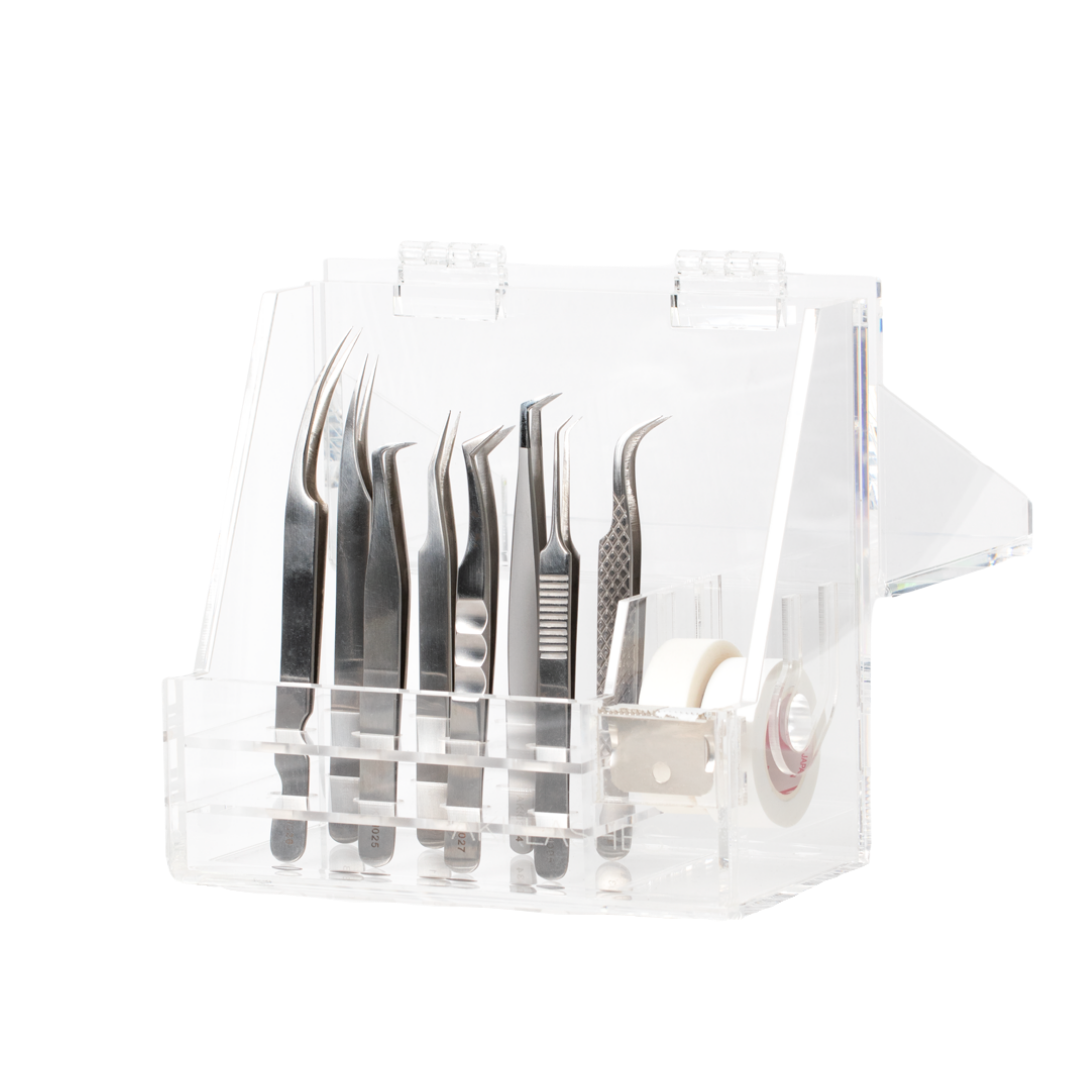
- Storage Bins for Products: Keep everything organized with labeled bins or drawers for lash extensions, adhesives, tweezers, and other materials. Make it easy to find what you need!
Step 5: Create a Social Media Corner
Why not create a corner of your lash studio specifically designed for Instagram photos? Clients love taking photos during their lash appointments, so why not make it easy for them to share their experience?
Tips for creating a social media corner:
- Feature Wall: Set up a stylish, photo-ready feature wall with your logo, a catchy slogan, or a well-designed backdrop. This can be the perfect spot for clients to take selfies or snap pictures during their sessions.
- Instagrammable Props: Add a few props like branded pillows, neon signs, or floral arrangements that make your studio unique and photogenic.
- Branded Hashtags: Encourage clients to tag your studio by creating a custom hashtag, like #LashesBy[YourName] or #[StudioName]Lashes. This way, you can easily track and share user-generated content on your own social media.
Step 6: Showcase Your Work with Display Shelves
Use your studio to not only serve clients but also to showcase your expertise. You can display before and after photos of your lash work on walls or as part of a visual display.
How to showcase your work:
- Wall of Before and After Photos: Clients love seeing real results. A “before and after” photo wall allows them to see your expertise and the transformation you can offer.
- Display Your Products: Showcase Aki Lashes products (such as lash extensions, adhesives, and tools) on display shelves or a sleek product wall. This not only elevates the overall feel of your studio but subtly promotes the high-quality products you use.
Common Mistakes to Avoid When Setting Up Your Lash Studio
- Overcrowding the Space: Keep your lash studio sleek and minimalistic. Overstuffing the room with too much furniture or décor can make it feel cramped and less inviting.
- Ignoring Client Comfort: Remember that your clients will be spending a significant amount of time in your studio. Invest in comfortable furniture and focus on their comfort as much as the aesthetic.
- Lack of Proper Lighting: Lighting is key in any beauty studio. Be sure to invest in good lighting that not only helps you perform your work but also makes the space feel welcoming.
Conclusion: Make Your Lash Studio a Reflection of Your Brand
Setting up an Instagram-worthy lash studio is more than just creating a pretty space. It’s about building a brand identity, creating a welcoming environment, and giving your clients an experience that makes them want to come back and share with their followers.
Ready to elevate your lash business? Whether you’re looking for high-quality lash extension products, professional training, or tips on improving your studio setup, Aki Lashes has everything you need. Shop now to transform your lash business or sign up for our expert training and start attracting more clients today!
Start building your perfect lash studio now with Aki Lashes!